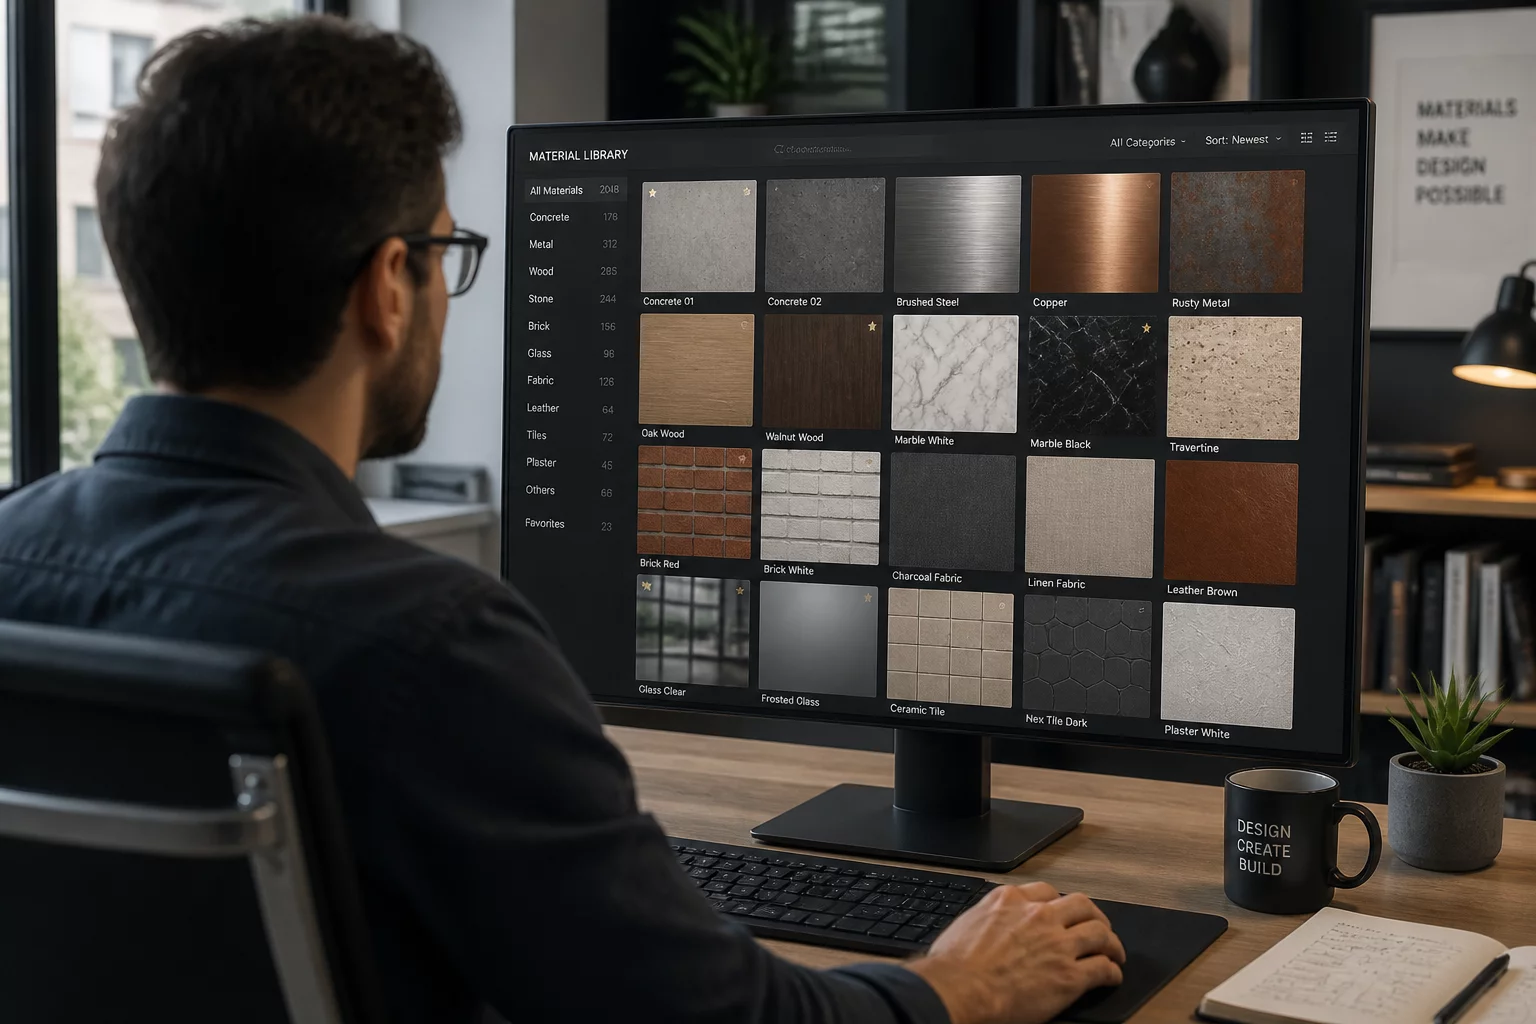
Consistency serves as the backbone of high-quality digital manufacturing. When we discuss the Surface Atlas, we are not simply referring to a gallery of high-resolution images; it represents a specialized tool designed to align design intent with final physical output. Whether you work with laser engraving in LightBurn or manage complex CNC finishing, understanding how to navigate this resource will drastically reduce production errors and subjective disputes.
Navigating the Digital Library
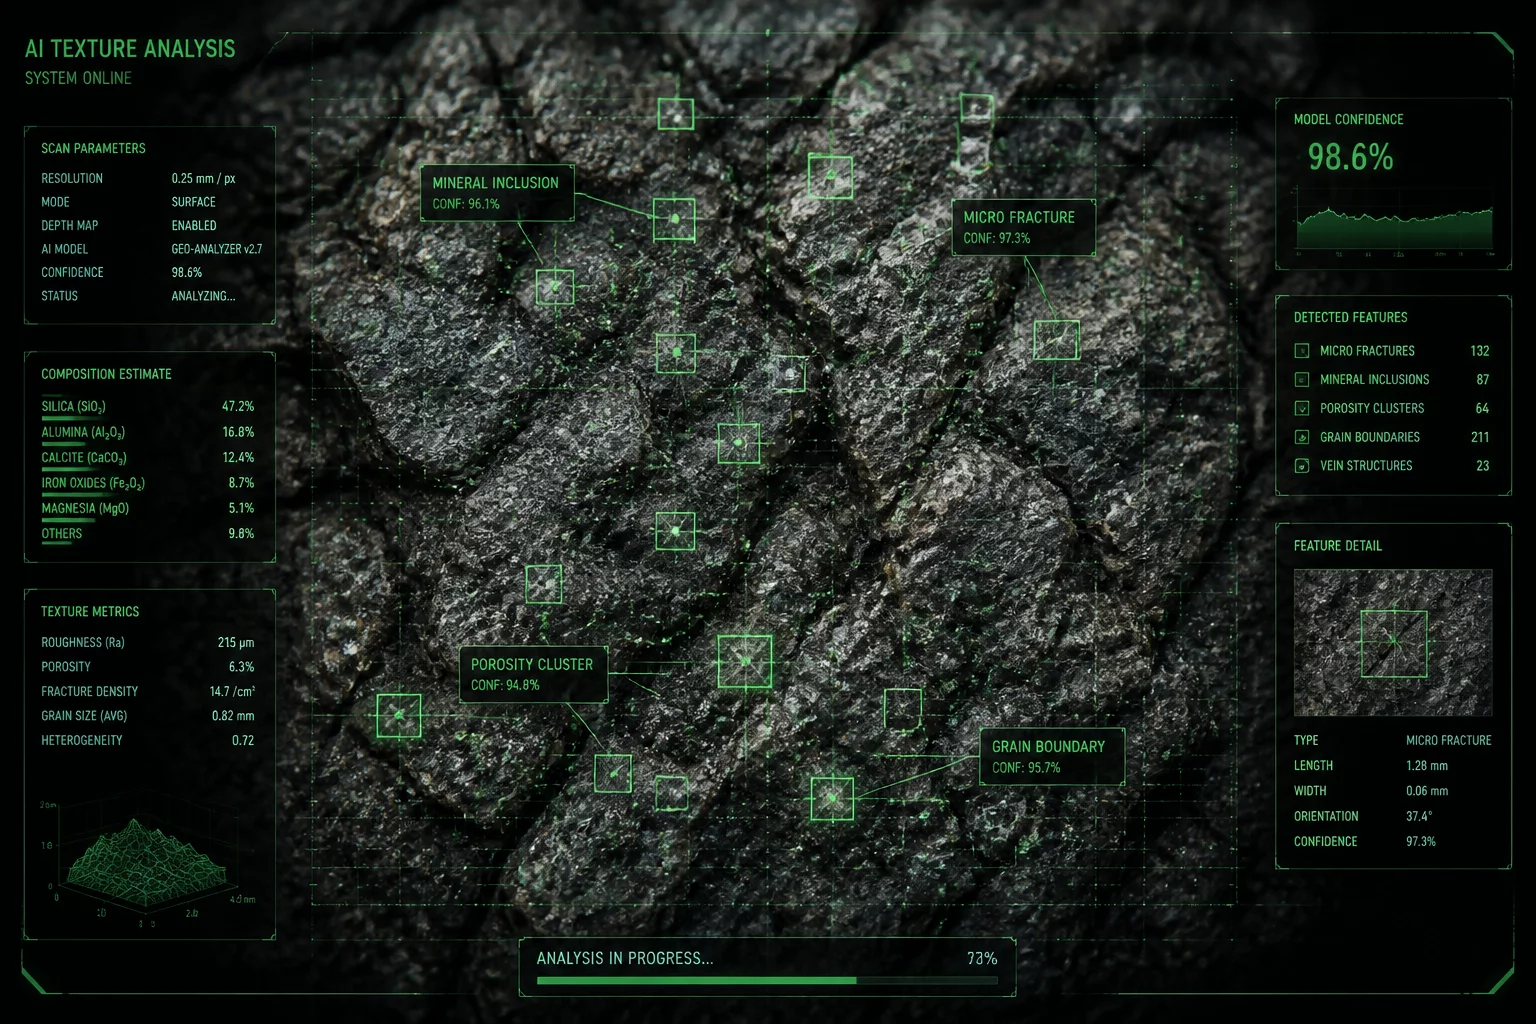
To use the Atlas effectively, one must start with the hierarchy. The system organizes textures and finishes by material properties and visual intensity. Instead of browsing randomly, identify your primary target — for instance, "High Contrast Anodized Aluminum" — and drill down into the sub-categories. Each entry provides not just a photo, but a technical breakdown of how light interacts with that specific surface.
The Side-by-Side Methodology
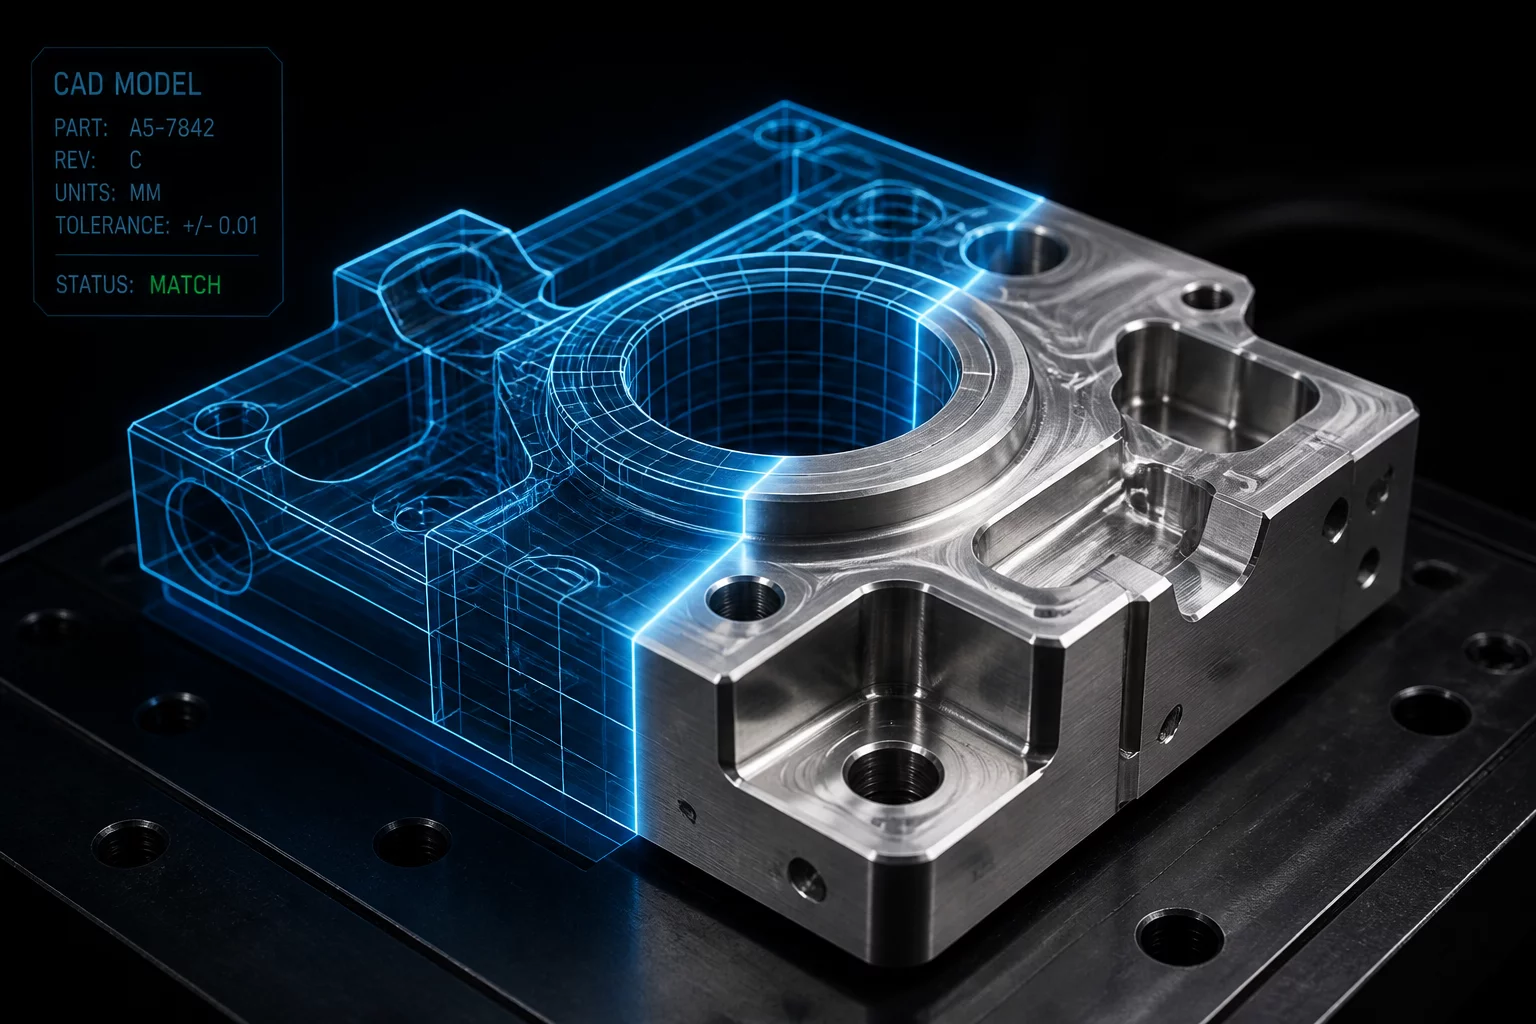
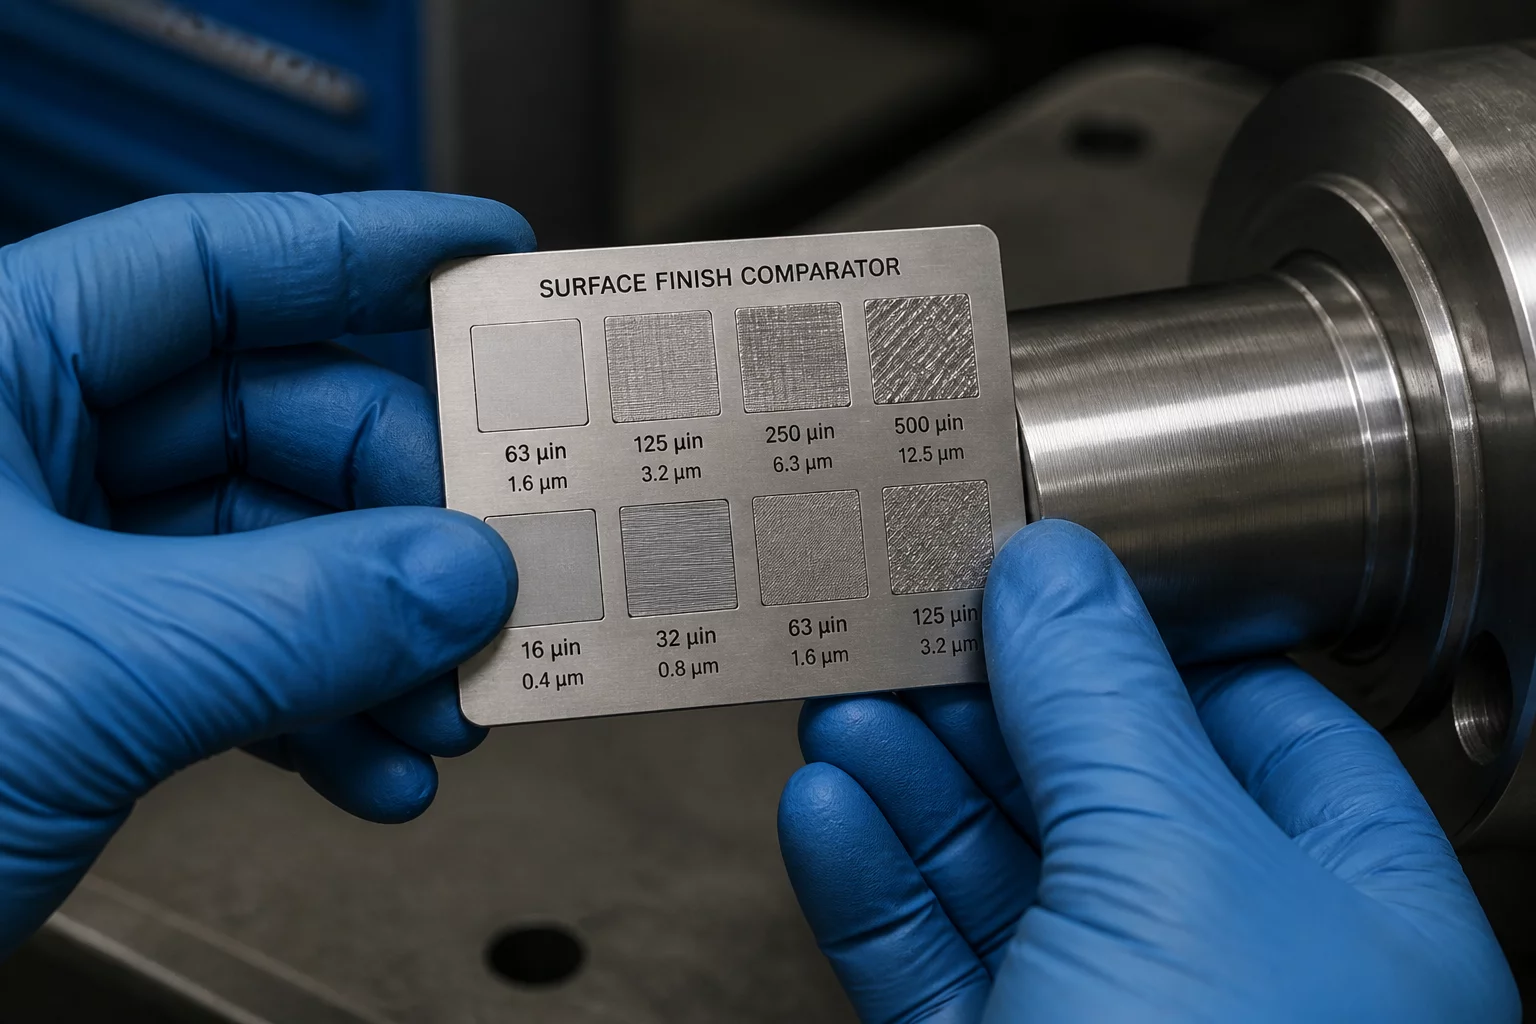
A common mistake in quality assurance is evaluating a single part in isolation. The Surface Atlas allows for a comparative workflow. By placing your physical sample under controlled lighting and comparing it against the digital standard, you can identify microscopic deviations. We recommend following these four checks:
- Analyze the Contrast Vocabulary to see if the blacks are sufficiently deep.
- Check Edge Definition to ensure no blurring has occurred at the borders of the texture.
- Observe Surface Consistency across the entire sample area.
- Document any Visible Marks that do not exist in the reference standard.
Practical Application in LightBurn
For workshop operators using LightBurn, the Atlas becomes an essential calibration guide. When you encounter issues like vertical banding or uneven charring, the Atlas provides the "intended" visual benchmark. Use the search function to locate similar material outputs and adjust your power and frequency settings until your results match the documented visual criteria. It removes the guesswork from the calibration process.
Standardizing Your QA Reports
Communication between designers and manufacturers often breaks down due to vague language. Words like "rough" or "smooth" are too subjective. Instead, use the Atlas to pull specific terms. Referring to a part as having "Sub-optimal Edge Definition Grade B" based on the Atlas scale provides a clear, actionable directive for the production team. This standardization ensures that everyone, from the client to the floor manager, speaks the same visual language.
Frequently Asked Questions
How often is the Surface Atlas updated?
We add new material textures and manufacturing standards every quarter to stay current with evolving digital technologies.
Can the Atlas be used for 3D printed materials?
Yes, we have a dedicated section for additive manufacturing that focuses on layer lines and infill-related surface textures.

Discussion
No comments yet
Be the first to share your thoughts on this article!
Leave a Comment